11: FLYER
.jpg)
In this assignment I used everything I learned for first marking period. For the text, Noche de Ciencias, I created a glass text which I learned from tutorialboard.net. Then I used a gradient overlay to make the background using the diamond option. I went to Google images and used the place option to place the images to my desired location.This assignment helped me realize the different objectives Photoshop can fulfill. For example in this assignment, we made a poster with our knowledge of different text types.
*********************************************************************************
12: TEXTURE WITH LAYER MODES

In this assignment I learned how to texture with layer models by using clipping masks to constrain the visibility of one layer to that of the layer beneath. The bottom most layer acts as a mask for the layers above it. First I made a new layer from the jacket from the image by using a magnetic lasso. I went to edit then copy merged. I selected the texture file then used the move tool and placed it over the suit. Then I merged the layers together by looking at the crossing circles and changed the opacity. base layer.
*********************************************************************************13: CHANGE ONE THING POSTER
.jpg)
In this assignment, I mimicked a poster made by Food Bank. First I made a solid color background and downloaded two images on different files.I used the magnetic lasso on the two images and placed it on the background. I went to bending options of my combined images and went to the outer glow option. I adjusted the value to 450 to increase the outer glow of the image. I pasted the food bank image and also used the outer glow option of blending options. For the text I used the impact font. Altogether for this assignment, I learned to explore the function of outer glow and manipulating images to my own liking.
*********************************************************************************
14: HALLOWEEN PROJECT ON PHOTOSHOP
.jpg)
*********************************************************************************
15A: PAINTED EFFECT LOOK ON A BRICK WALL
.jpg)

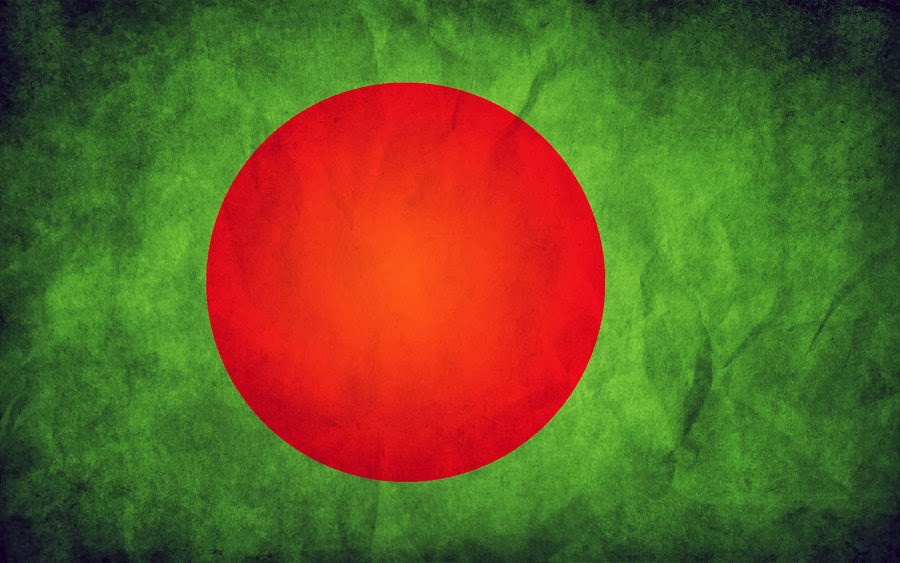
For this assignment, I created a painted effect look by overlaying an image distorted with a displacement map. It places an image over a grid that creates a textured look. I first created a new file and saved a brick wall and a flag image. I opened the 2 images and used the move tool and placed the flag image over the brick wall image. I selected hard light on the brick layer. I selected the brick layer and duplicated the brick layer. With the copied layer and went to filter, to blur, to Gaussian Blur. I saved the displacement map to my desired settings. I then selected the flag layer and went to filter distort and displace. With the displacement map I chose earlier I selected OK and created a new feel to the flag on the brick wall. With the blending options of the new image i chose hard light again and changed the opacity of the image to 80 percent.
*********************************************************************************
15B: PAINTED EFFECT LOOK ON A FACE

+(2).jpg)

For this assignment, I used the same concept related to the brick wall and the flag. In respect to the brick I used a "selfie". I followed all the instructions that were on tutorialboard.net and I used the smudge tool to make the flag actually on my face.
*********************************************************************************
16: SMART FILTERS IN PHOTOSHOP

*********************************************************************************
17: Quick Mask to Make a Detailed Selection

*********************************************************************************
18: Soft Focus Effect

For this assignment, I learned how to add a soft effect to make a portrait glow. First i found an image online added it to the background. I copied the background layer and clicked filter and convert for smart filter. Then I went to filter then blur then gaussian blur to fix in my desired settings. I then changed the images from normal to screen. Using the brush, i made a outline on the eyes and the lips so it can show though the glow. Also, I made the opacity 40% to make the glow more noticeable.
**********************************************************************************
19: Detailed USB

**********************************************************************************
20: Wireless Phone

No comments:
Post a Comment